


How to Start Live Streaming

Live streaming can appear to be complex and difficult for anyone who hasn’t tried it before. After all, there are so many settings and pieces of equipment to deal with — it can be a big puzzle if you aren’t familiar with the technology.
If you’ve been wondering how to stream live video, this article will explain the basics, from the equipment that you will need to the software tools and connections to make it all work together. Here at Dacast we’ve produced a short 2-minute video that explains what you need to get started with live streaming. We’ve also written out the content of the video below for anyone who prefers reading.
What is Live Streaming?
Live streaming is the process of broadcasting video over the internet in real-time. It’s a relatively new phenomenon that has emerged in the last decade, at least in terms of being an easily accessible technology that anyone can use. This is due to the increase in speed and reliability of internet connections to the point that high-quality video can be transmitted without much lag. That and the advent of services like Dacast and Ustream have made streaming more accessible as well.
The immediacy of live streaming and the relatively low cost of getting started has removed many of the barriers to broadcasting that have existed in the past. Now, almost anyone can be a content creator and live stream their content around the world, instantly.
This has revolutionized how live events are broadcast around the world. In recent years, live streaming has become widely used for broadcasting sporting events, live music, seminars and conferences, church sermons and events, political gatherings, and many other types of events.
How to Start Live Streaming
If you’d like to join the live streaming world, it’s easier to get started than you would think.
At it’s most basic, live streaming can be achieved with an internet-connected smartphone and a live streaming app like Periscope. This sort of simple setup is more than enough for ad-hoc recordings but won’t yield high-quality productions.
However, let’s assume here that you’d like to create a stream with higher quality content, a more professional look, and greater reliability. Here is what you need to get started.
Equipment for Live Streaming
Luckily, the equipment for high-quality live streaming can be affordable and easy to find.
Camera
First, you’ll need some sort of camera. This could be as simple as a smartphone or tablet, although this will greatly limit your options for the next step. Another option, and better choice, would be a USB-connected webcam, which these days can produce acceptable quality HD video. USB is also a simple connection and simplifies the process of running the stream through your computer and to the internet.
For high-quality productions, we recommend a Digital SLR (DSLR) with video capability or a dedicated digital video camera. Digital camcorders come in a range of sizes ranging from hundred-dollar handheld models to professional cameras that cost tens of thousands. The middle ground here is a good place to fall.
Cameras that are cheaper than about $500 generally won’t create a great looking video but spend more than $2000 and you may be getting more features than you need. Whatever camera you get, look for something that can shoot full HD 1080 video and can output, preferably through HDMI.
Capture Device
Next, unless you’re using a USB webcam, you’ll need some sort of capture device that can take video input from your camera and make it available on your computer, or send it directly to your live stream.
There is a wide range of hardware encoding devices that can do this. Some are external devices that plug in-between your camera and computer, and some are available as cards that can be installed in desktop computers. Some hardware encoders even allow you to bypass the need for a computer completely.
One great source of information when choosing a hardware encoder or capture device is B&H Photo Video, a New York-based store with a range of in-house experts available for phone consultation and a full array of products for sale.
Software Encoder or Hardware Encoder
 If you’re not using a hardware encoder, you will need a software encoder that imports video from your capture device or USB input and transcodes the format. Software encoders are necessary because cameras mostly record videos in formats suitable for recording, not for live streaming.
Software encoders vary in price, from free and open-source options like Open Broadcaster Software (OBS) and Flash Media Live Encoder to pro-level packages like Wirecast Pro (shown in the video), vMix and VidBlasterX.
Whichever you choose, download and install the software and explore the basic settings. You can find more guidance for the specific settings you need to use later on.
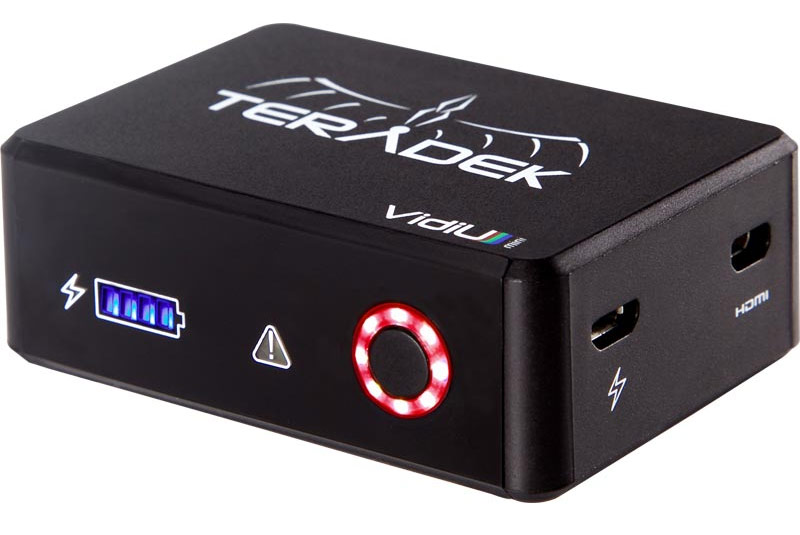
If you have a bigger budget or are looking for more flexibility, you might try a hardware encoder, such as the products from Teradek like the VidiU which is pictured to the right. You could also try Videon which has just released a powerful API integration for Dacast live streaming video workflows for their Empire HD and Greylock HD encoders.
Video Streaming Host
Finally, you’ll need a video streaming host, an online video platform that has the bandwidth and server configuration to take your video input and stream it to dozens, hundreds, or thousands of viewers (or more). Popular video streaming hosts include Livestream, Ustream, and Dacast.
To get started broadcasting, you’ll need to connect your encoding software or hardware to your video streaming host.
Depending on what setup you’re running, you can either login directly to your host account via your encoder, or you may have to provide a password and URL provided by your streaming host to your encoder. Or, you may be able to download an XML file that you can use to set up the encoder automatically. Either way, you should be able to find instructions on your video streaming host website.
Starting the Live Stream
Once you have all the equipment you need to get started and are connected to the internet with a sufficiently fast internet line, you’re almost ready to begin streaming. The final step is to get your live stream prepared for an audience. On your video streaming host website, you can copy a URL to share with viewers or an HTML code block to embed in your website (you can also change setting to monetize your videos or otherwise restrict access).
Once that’s set up, connect all your devices and start filming; your stream will be up and running. Our support can help with any issues. Get in contact if you have any questions about how to start live streaming.
Good luck!
By Max Wilbert