


How to use the CNAME domain feature?

To take our white label system further, we now offer broadcasters the option of using one of a number of public Cnames rather than dacast.com in your player embed codes and links, ensuring that Dacast domains are hidden from anyone casual inspecting of your web page.
This is particularly useful for resellers of our streaming services or for professional broadcasters who do not want the name of their video streaming provider displayed to viewers.
Follow the steps below to get started:
- Login to your Dacast account and go to Settings, then click Embed.
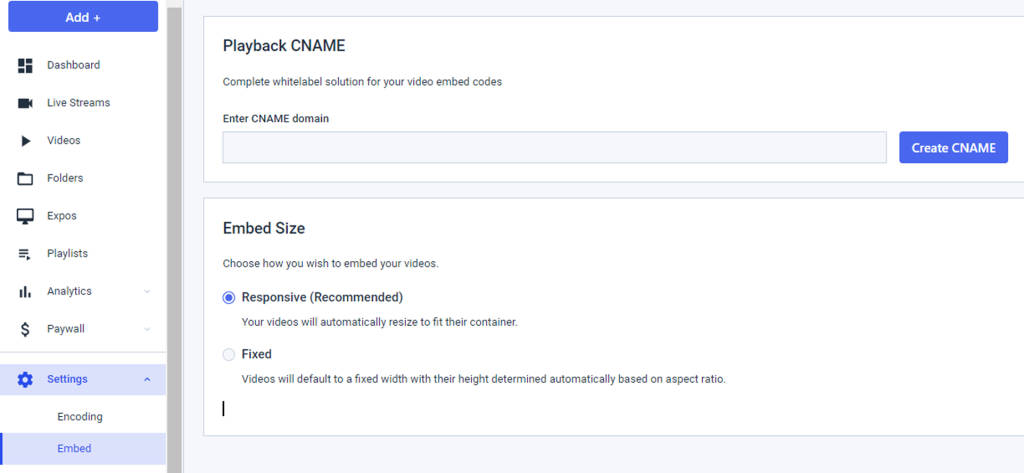
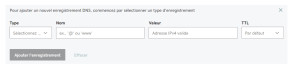
2. Enter that CNAME domain the you wish to use on the CNAME domain field.
![]()
![]()
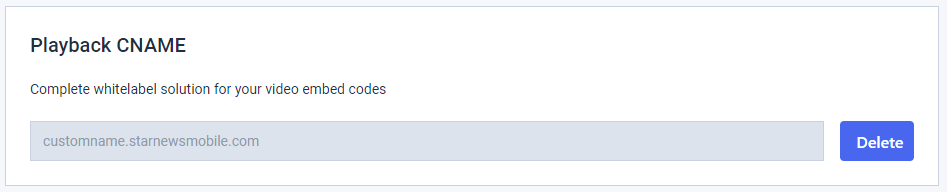
Note: If the domain you own is “example.com” and you want to use “player” as the subdomain, then you must type in “player.example.com”.
You will need to have an access to the DNS management of the specified domain e.g. Godaddy.com, Amazon Route53, Gandi.net Etc.
3. Once you have your domain URL, hit the “Create CNAME” button.
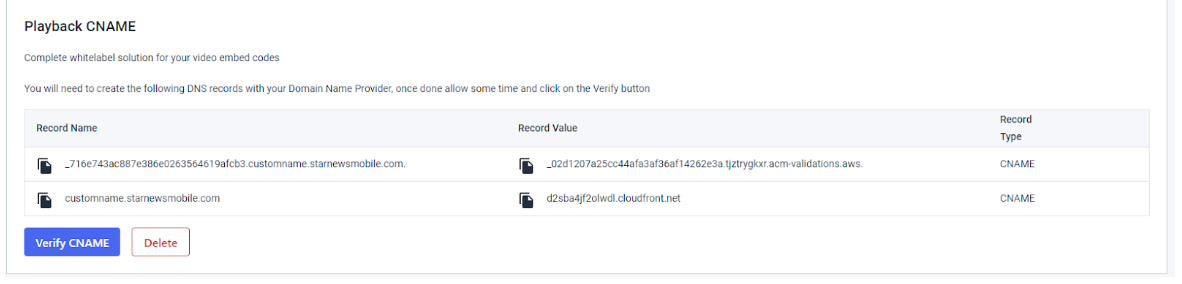
After clicking on the “Create CNAME” button, two fields will show up where you need to enter your DNS.
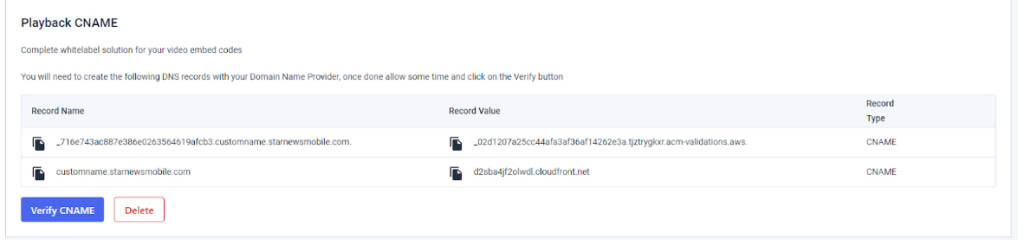
Note: Make sure there is no space in front of the value entered. Also, make sure there is no special characters to avoid errors.
You will need to use two DNS records from your DNS management tool.
Here are two examples on how to get your DNS records from your DNS management tools/platforms:
Godaddy.com
- Log in to your godaddy.com account, select the domain name from the “DNS Management” section.
2. Click on the “DNS” button on the side to get the DNS records.
Amazon Route 53
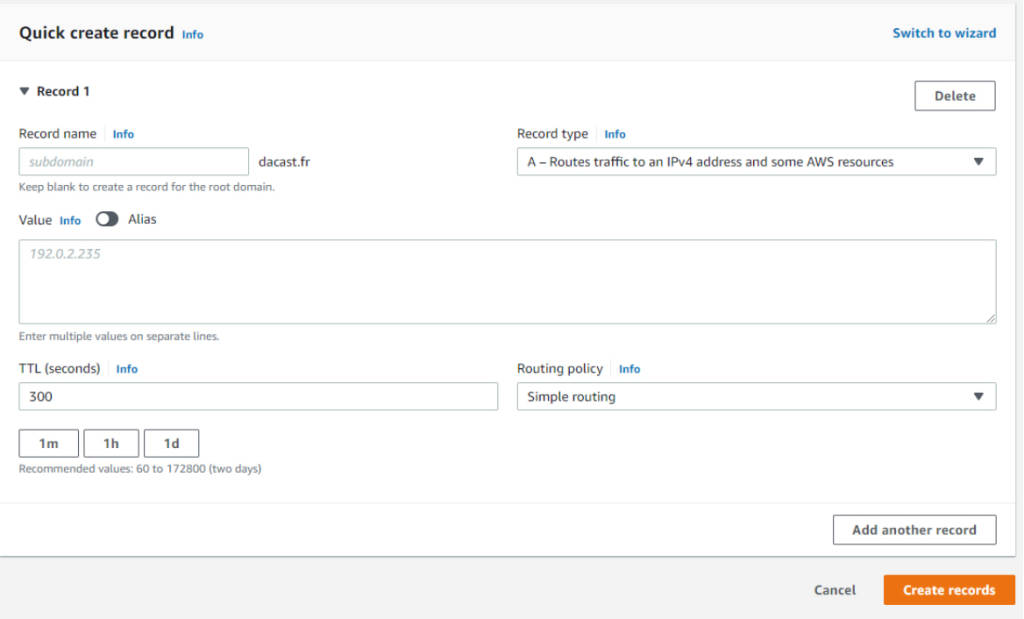
2. You must enter TWO DNS records, both as CNAME record type.
Record name is indicated as “Record Name” in the Dacast account.
Record value is indicated as “Record Value” in the Dacast account.
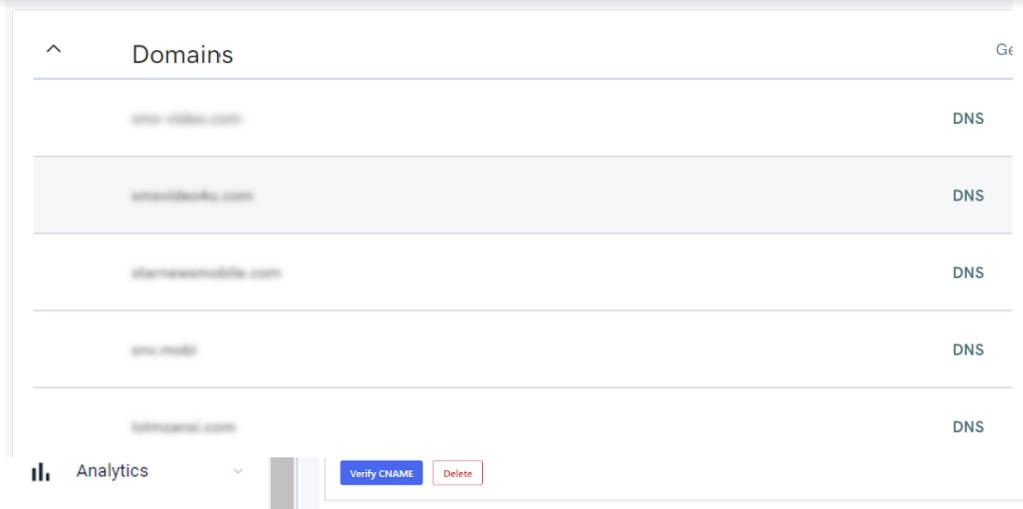
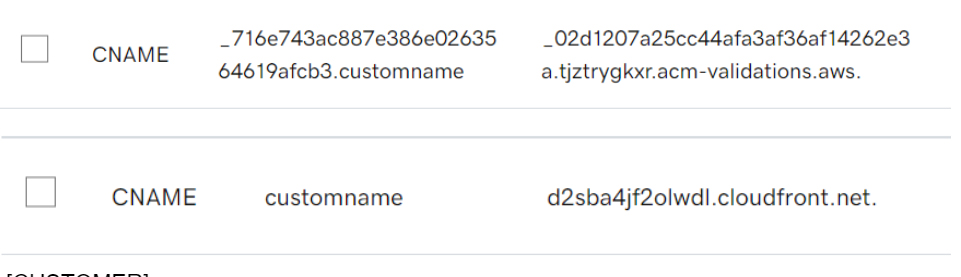
If successful, you will see both DNS records in your DNS management console, like this:
3. Once the DNS records are set, click the “Verify CNAME” button.
Note: The DNS Records may take up minimum 30 minutes to populate. It can be 24-72 hours, or more, for some cases. If the integration is successful, it will appear greyed out on the CNAME domain field.
4. The CNAME domain will now be available on your content sharing tab:
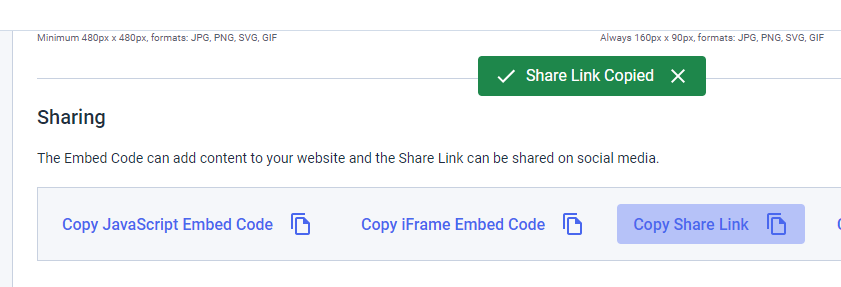
The url should look something like this:

If you prefer to use your own custom domain name when providing live streaming or online video platform services based on the Dacast platform, you can easily do so with the help of our Professional Services to set up a hosted custom CNAME proxy. This would include embed and iframe codes with your own domain name as well as the SSL certificate for https.
Any questions or you want to access this feature? Please contact us.
Not yet a Dacast user, and interested in trying Dacast risk-free for 14 days? Sign up today to get started.