


Which Live Stream Software for Video conferencing?

Some of the most popular live streams online today are talk shows or news shows that feature outside guests. How can you stream live video of a show that includes guests joining in via video chat? Turns out, it’s not as complex as you may think! All you need is some software in order to incorporate guests from other video sources into your live stream. In this article, we’re going to share some live stream software tips that make this process simpler than ever.
More specifically, we’re going to look at using Skype, Google Hangout, or other video calls inside OBS Studio and Wirecast. We’ll also preview a new feature from vMix which makes this process much, much easier.
Live streaming for talk shows
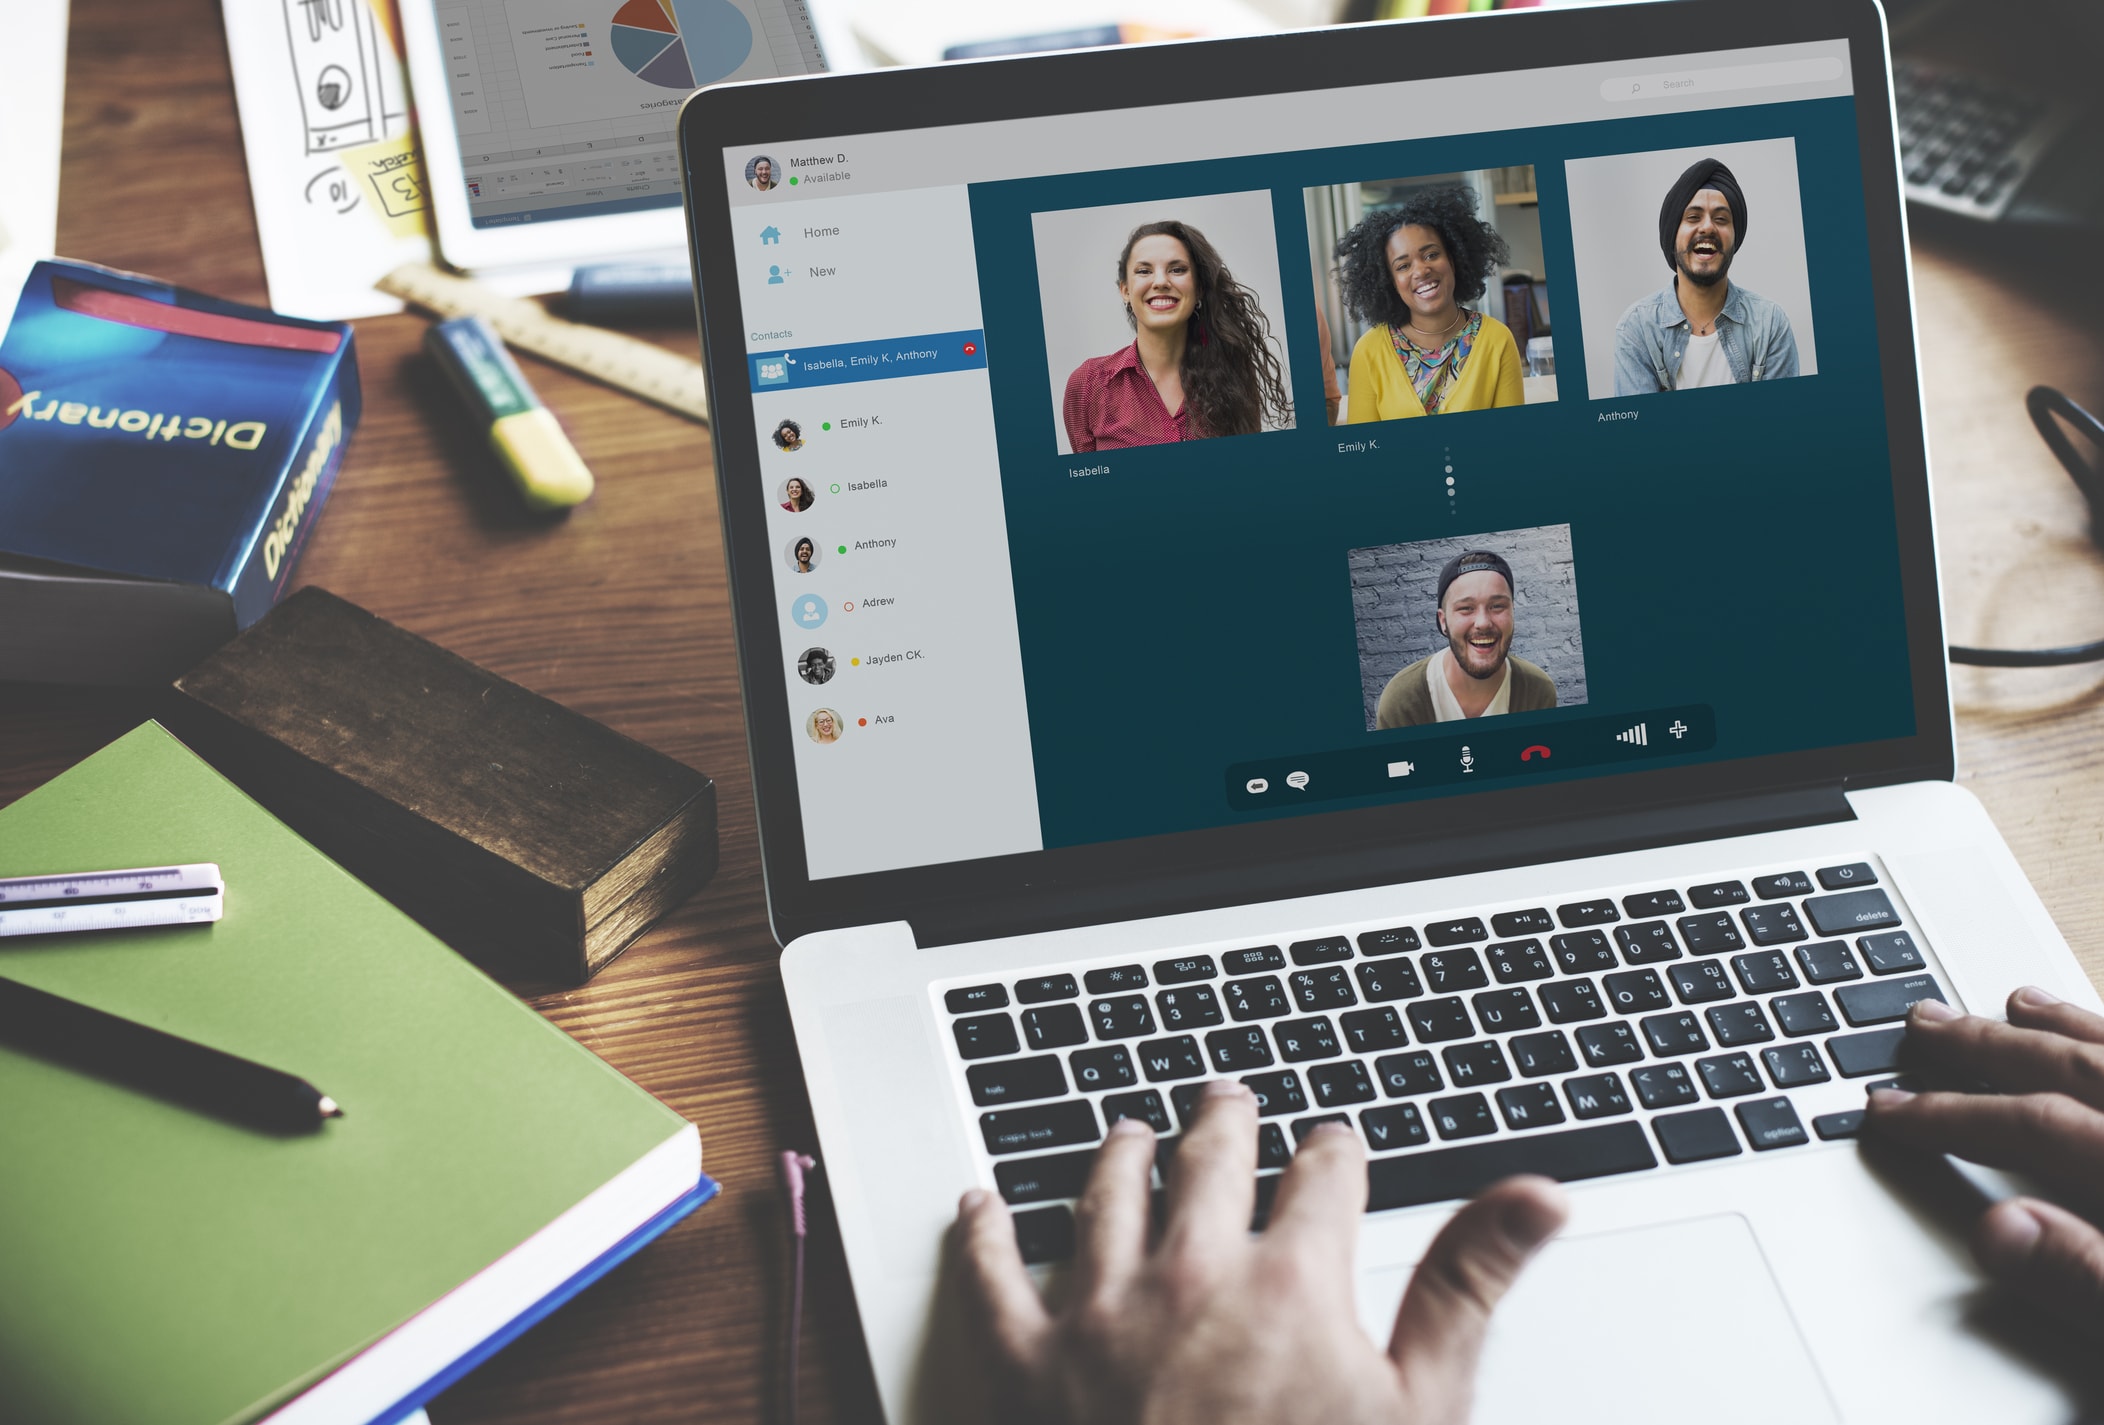
Live streaming vs. video conferencing is a confusing distinction. Video conferencing involves two or more parties with video cameras communicating via live internet video. Live streaming, on the other hand, is usually a one-way communication medium. Video flows from the broadcaster to the viewer via live stream software.
This distinction between the two is even more of a blur, thanks to people’s live streaming shows that include a guest joining via video conference. In essence, it’s a blending of these two technologies. For an interactive live streaming experience, it’s a great technique.
Video conferencing inside a live stream using Skype, Google Chat, etc.
It’s always been a bit of a pain to integrate a video conference discussion into a live stream.
 Using Skype, Google Hangout, or a similar application makes the call portion easy.
However, it can be tricky to add the correct audio and video sources to your live stream program feed.
Different live stream software tackles this issue in different ways. Wirecast makes adding video chat to your live stream relatively easy. In OBS Studio, it can be tricky—especially on Mac OS. However, the latest premium versions of vMix make this astonishingly easy.
Let’s take a look at each of these live stream software packages.
Wirecast + Video Chat
Wirecast doesn’t have an integrated tool for video calls, but it does simplify the process of using Skype or another video-call system. To use this tool, you’ll need Wirecast 6 or newer. Here’s how it works:
- Open Wirecast and the video chat application of your choice, such as Skype.
- In the Wirecast menu under “Sources,” select the “New Local Desktop Presenter” option.
- A “Source Settings” window will appear. Use the dropdown menu labeled “Capture Type” to select “Window.” Check the box labeled “Capture Audio,” then click the “Select Window/Monitor” button and select Skype (or another video chat service) from your list of open windows.
 Next, right-click in the sources pane at the bottom of the Wirecast window, then click “Add Local Desktop Presenter N Shot.” Now your video chat window will appear in your sources pane and you can add it to your feed.
- Next, you’ll want to ensure that audio is configured correctly. For the “Local Desktop Presenter” shot in your sources pane from Step 4, right-click and select the “Change Audio” option. Make sure you select both your audio source (whatever microphones or audio devices you are using) and the guest’s audio (labeled “Local Desktop Presenter”).
- Click the microphone icon at the bottom right corner of the program feed to make sure it’s no longer highlighted. This will avoid audio duplication.
- To make sure that your guest can see what is going on, you’ll want to go to the “Output” menu option in Wirecast, then to the “Virtual Camera Out” settings. Make sure that the “Virtual Microphone” and one of the video resolution options are checked. Choose a resolution based on how much bandwidth you have available. Then click “Start.”
- Lastly, switch over to your video chat application. Navigate to the audio/video preference settings. Make sure that the audio source is set to “Wirecast Virtual Microphone” and the video source is set to “Wirecast Virtual Camera.”
Here’s a bonus tip: with your Local Desktop Presenter shot selected, hit control + E on your keyboard. This will bring up the edit screen. Use this to scale the video call window so that the controls and user interface are no longer visible. It’s a cleaner, more professional method of bringing in a video guest. You can also use the multi-source option to have your video and the guest’s video appear side by side.
OBS Studio + Video Chat
In OBS Studio, capturing a video call is similar to Wirecast. On a Windows PC, it’s quite simple. All you have to do is set up a new desktop capture focused on the Skype or video chat window. The audio will be automatically captured alongside the video.
On a Mac, however, the same approach doesn’t quite work. That’s because Mac OS has some limitations on audio capture at the system level.
To bypass them, you’ll need to install an external utility. One option is the free IShowU Audio Capture. Another option is LoopBack, which costs $99. For this explanation, I’ll work with IShowU.
- After installing IShowU Audio Capture, navigate to your Mac System Preferences and to the “Sound” pane.
- Under the “Input” tab, select “IShowU Audio Capture” as the input device.
- Open OBS Studio and click the + under the Sources box. Select “New Audio Input Capture Device” as the type, and select IShowU Audio Capture.
 Unfortunately, there’s a bug in this setup. It will capture all desktop audio, not just your video chat. That means notification dings and calendar alerts will be captured as well, which isn’t ideal. We recommend muting all notifications for the duration of a live stream.
Another problem with this setup is that you won’t output audio to your speakers or headphones while you’re streaming. This can be a deal-breaker. Fortunately, there is a workaround. Here’s how it works:
- Open your “Applications” folder, then the “Utilities” folder. Click the “Audio MIDI Setup” app.
- Click the + in the bottom left corner and select “Create Multi-Output Device” in the dropdown that appears.
- This new device will appear in the left-hand panel, with options listed in the right-hand pane. On the right, check the boxes for “Built-in Output” and “IShowU Audio Capture.” Turn on “Drift Correction” for the Built-in Output, but not for IShowU.
- Return to the Sound pane in System Preferences. Under the “Output” tab, select the new Multi-Output Device. Be sure to set your audio monitoring to the level you want during your show first. You won’t be able to adjust the volume of a Multi-Output Device on-the-fly.
- Remember to reset these settings after your live stream finishes.
Once configured, use the scale tool to resize each source so you can have the guest video on one side and your video on the other.
Dedicated live stream software for talk shows: integrated video calling in vMix
Recognizing the need for this type of feature, manufacturers are innovating.
vMix integrates a new related feature in version 19 of their software, which launches in April 2017. It’s called “vMix Call.” When choosing inputs, an option called “video call” is now available. This allows you to either call into another vMix user or has guests call you directly.
Calls take place via WebRTC, which is an open web communication standard. Anyone using Chrome or Firefox on a computer or Android device can join a vMix Call show via www.vmixcall.com. They’ll be prompted to enter a password (provided by you) and their name. Then you can start the call.
vMix Call also allows you to set “Return Feed (To Guest)” so you can select an audio source, a video source, and the bandwidth allocated to the feed that is sent in return.
vMix comes in six editions. The three top tiers of the software will support the vMix call feature. HD will support one caller, 4K will support two simultaneous callers, and Pro will support up to eight callers.
To learn more, check out this video tutorial of vMix Call from Tom Sinclair at Eastern Shore Broadcasting.
Conclusion
As you can see, there is a wide range of functionality in live stream software when it comes to video conferencing. The new vMix Call feature makes this incredibly simple, while OBS Studio on Mac requires some painstaking effort to get up and running.
With the value that multi-person live streaming brings, we expect to see these features mature further. vMix Call is likely just the beginning. The highly functional WebRTC video standard makes it quite easy for live streaming software providers to integrate video calling functionality into their products.
Are you facing challenges with live streaming video conferencing? Looking for new and better streaming solutions to meet your needs? Let us know in the comments and we’ll do our best to help you sort them out!
Finally, if you’re not yet streaming with Dacast, why not sign up for our 14-day free trial (no credit card required)? Just click the button below to create an account with the Dacast online video platform. From there, you can start streaming in a matter of minutes!
For regular tips and exclusive offers, you’re also invited to join our LinkedIn group.
As always, thanks for reading, and good luck with your live streams!
By Max Wilbert.