


Live Video Streaming with the Larix Broadcaster Mobile App

This guide will walk you through streaming from a mobile device using the Larix Broadcaster Live Streaming App.
How to Live Stream with Larix Broadcaster
Streaming with the Larix Mobile Broadcaster application requires 3 things:
- A mobile phone or tablet
- Larix Broadcaster Mobile App
- A Dacast account
Video Tutorial
Check out this quick tutorial, and discover how you can quickly launch a live stream on your phone or tablet, with Larix Broadcaster Mobile App:
Written Tutorial
Larix Broadcaster is a free app for iOS and Android that you can use to live stream from your mobile device on the Dacast platform.
Note that Dacast supports iOS 13.1.1+ and Android 9+ so please check your device versions and update if required
Setup is easy. To start off, once you open up the app (if you have just downloaded it), it will ask permission for it to use your camera, microphone, and location. All of these should be allowed.
Now once everything has been allowed, it will now take you straight away to the main screen which is essentially the camera capture part, as evidenced below. What you need to do is click on the screw icon (which is the settings part).
To manually configure the encoder, make sure you follow our Live Encoder Configuration Guide and you should be good to go.
Now you will then be redirected to the settings page. What you can do is configure the settings first for the video:

What you can change is the video size based on the resolution that you wish to stream at. You can set it all the way up to the highest (1920X1088) or the lowest (176X144). Your upload speed should factor in the setting of this resolution.
For FPS, 30 fixed rate is the preferred frame per second. This should be fine moving forward.
Scroll all the way down then under the Encoder settings part

You can change the video bitrate accordingly (again based on your upload speed and as per our encoder settings guide):

For Keyframe Frequency, we recommend, setting it at 4 seconds. This should be fine moving forward.
Now everything will then be automatically saved, you can scroll back to the main Settings page and then click on Audio:

Now under the Audio parameters page all, you need to change are the following:
- Channel count: Stereo
- Sample Rate: 48000
Check out the Audio Parameters settings here:

These are again, based on our preferred encoder settings, and both should be set to these options respectively moving forward.
Next, scroll back to the main Settings page, then click on Advanced Options:

What you need to change from within this page are the following:
- Frame Height
- Frame Width
Again based on the resolution that you wish to stream at, choose the corresponding frames per height and width. Please reference our encoder settings guide.
Now once everything has been changed, you can now go straight to the Connections section so that you can manually configure your stream based on the Dacast live channel you will stream at:

Either clicking on New connections (to establish a one-time connection) or Manage connections (to save the given stream details moving forward) will work.
Upon clicking you will be redirected to the stream settings part, which is called Outgoing connections. In this example we chose a new connection:

These are based on the Dacast live channel encoder setup. Please input the following settings:
- URL: Server/Stream Key (put a slash after the Server URL, then put the Stream key afterwards.
In this example my Server URL on my Dacast account is
- rtmp://rtmp-live-ingest-eu-west-3-universe.dacast.com/transmuxv1
Then my Stream key on my Dacast account is
- efd69534-17e6-cc21-1c8f-c36f7798f376?token=eyJhbGciOiJIUzI1NiIsInR5cCI6IkpXVCJ9.eyJzdHJlYW1JZCI6Im
Put them together on the Larix app under URL as:
- rtmp://rtmp-live-ingest-eu-west-3-universe.dacast.com/transmuxv1/efd69534-17e6-cc21-1c8f-c36f7798f376?token=eyJhbGciOiJIUzI1NiIsInR5cCI6IkpXVCJ9.eyJzdHJlYW1JZCI6Im
Now all of these pieces of information can be found under your Dacast live channel. Go to the General Tab, then click on Encoder Setup:

Once there you will see the following, simply copy and paste the information provided:

Now go back to your Larix app, then once you have copied and pasted the following info. You can change the following as a final step:
- Target Type: Akamai/Dacast
- Then click Save.

You will be redirected to the connections page again on your Larix app. Once stream credentials have been accepted, you will see it as based on my example:

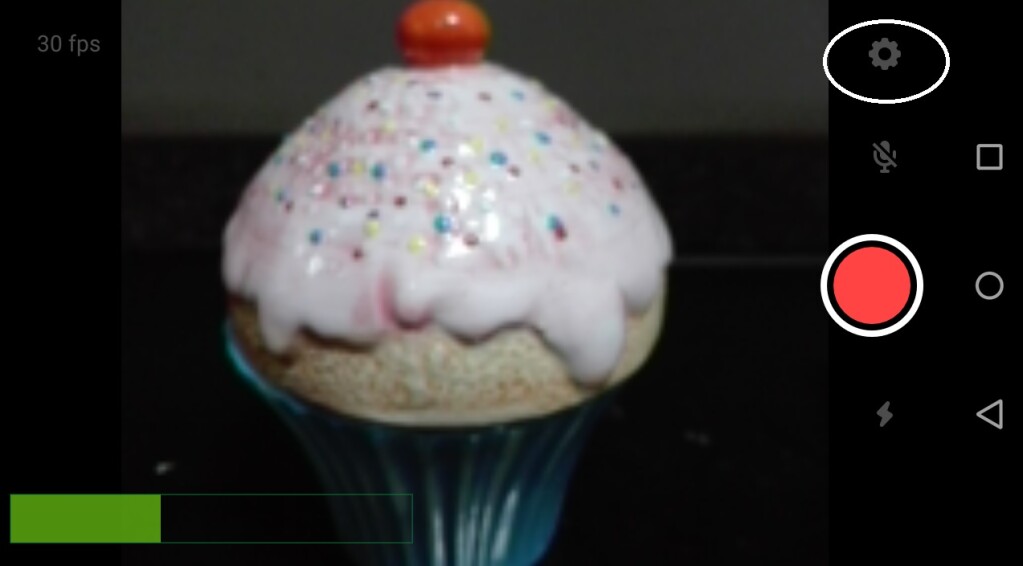
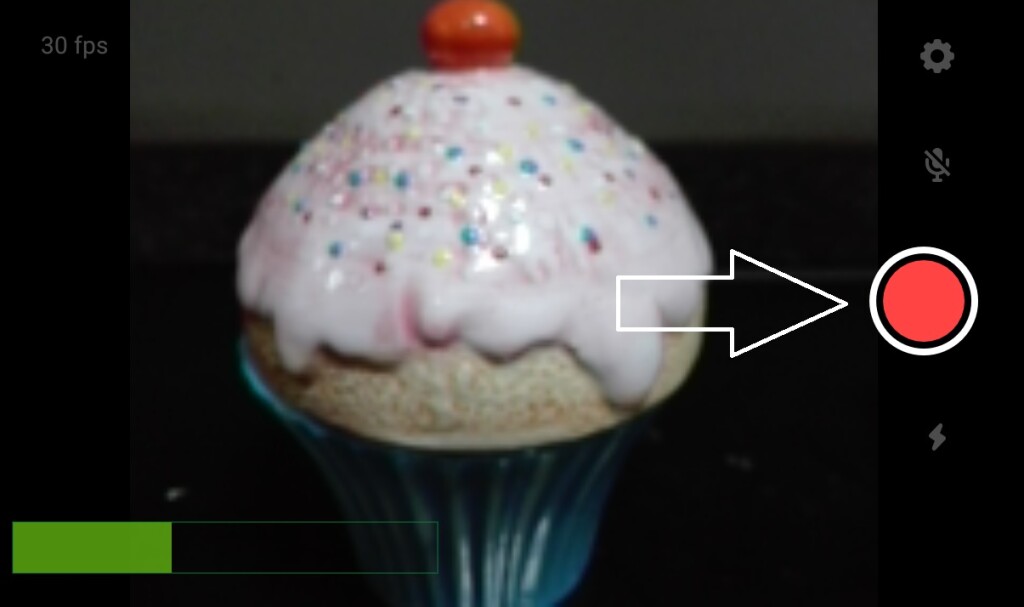
Go back to the main window, then focus on the camera of your smartphone, and click on the big red button on the right:
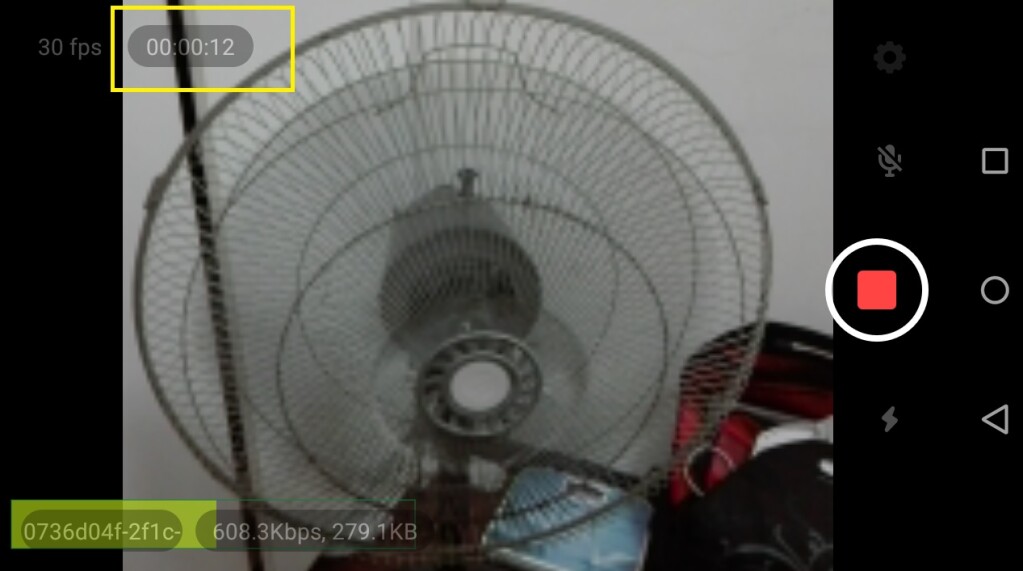
Once there, you are ready to start streaming! If you are successful, you will see a timer at the top left part confirming that you are indeed connected to the Dacast server, and streaming is being done now:
That’s it!
Explore our player API to integrate other great apps to enhance your live streaming experience. You can even use API and mobile SDKs to build iOS and Android apps for viewing.
If you are still having issues, please contact our support team in chat or via email support@dacast.com.
Not yet a Dacast user, and interested in trying Dacast risk-free for 14 days? Sign up today to get started.