How to Stream to Dacast using YoloLIV?

By Harmonie Duhamel

2 Min Read

banner image featured
author avatar

Harmonie Duhamel

Harmonie is a Senior digital marketer with over 6 years in the Tech Industry. She has a strong marketing and sales background and loves to work in multilingual environments.

Share this post

Sign up for a 14-Day trial.

  • Start streaming in minutes
  • 10 GB of free bandwidth on us
  • No credit card required

    This guide will walk you through how to stream live using YoloLIV hardware encoders. 

    How to Live Stream with YoloLiv

    Step by Step with your YoloBox

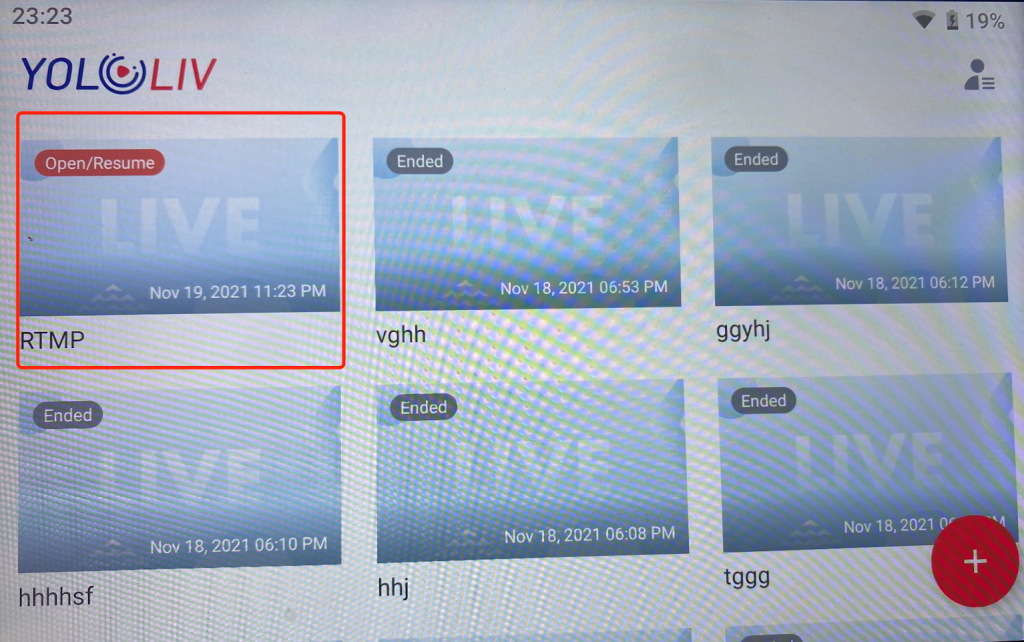
    The first step will be to create an event in your YoloLIV product. 

    Once your event is created, click on it:

    YOLOLIV_EVENT_-_STEP_1

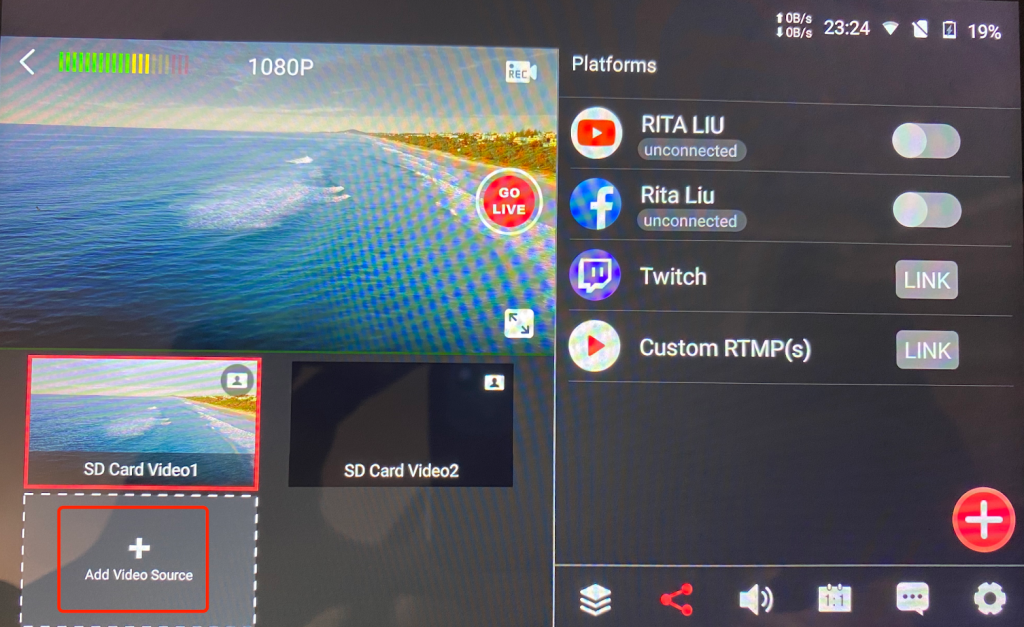
    Then add your video sources:

    add_video_sources_yololiv_tuto_-_step_2

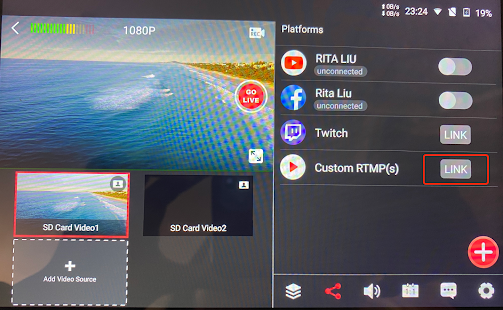
    Then click on the ‘Link’ button on the “Custom RTMP(s)”’s right side as shown below:

    Custom_rtmp_link_button_-_step_3_-_yololiv_tuto

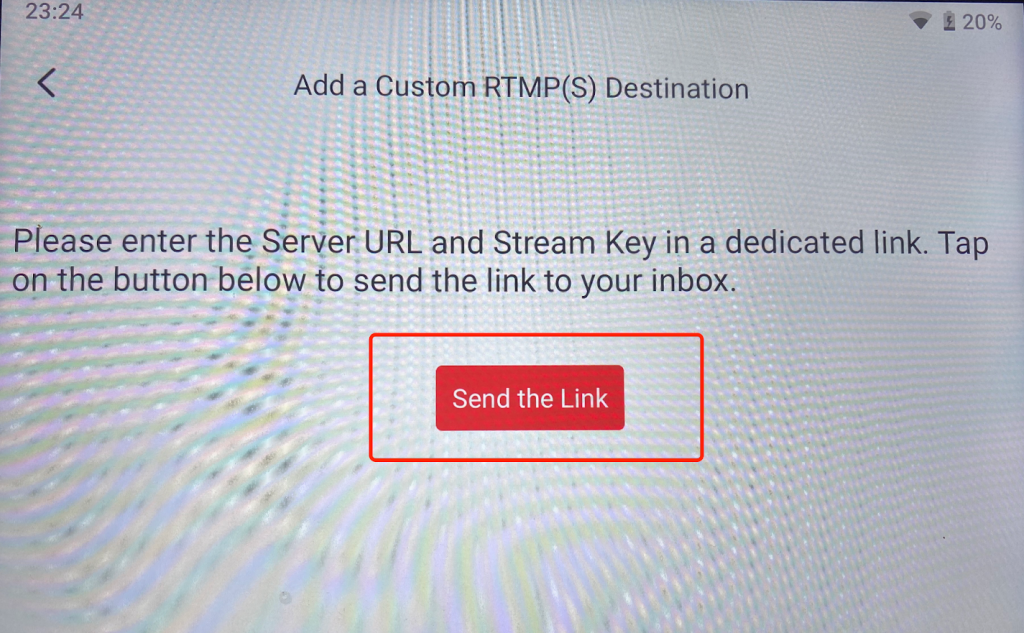
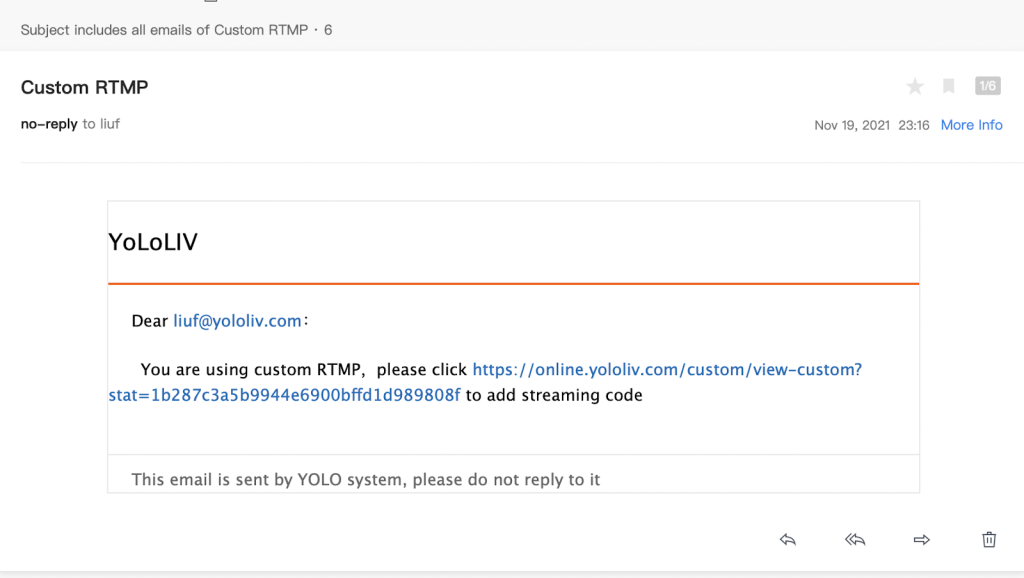
    Then by clicking on the red button “Send the Link” you will receive an email

    Custom_RTMP_-_send_the_link_red_button_-_step_4_-_yololiv_tuto

    Now, on your computer, we invite you to open the email you should have received and click on the link you’ve received.

    Email custom rtmp - yololiv - step 5

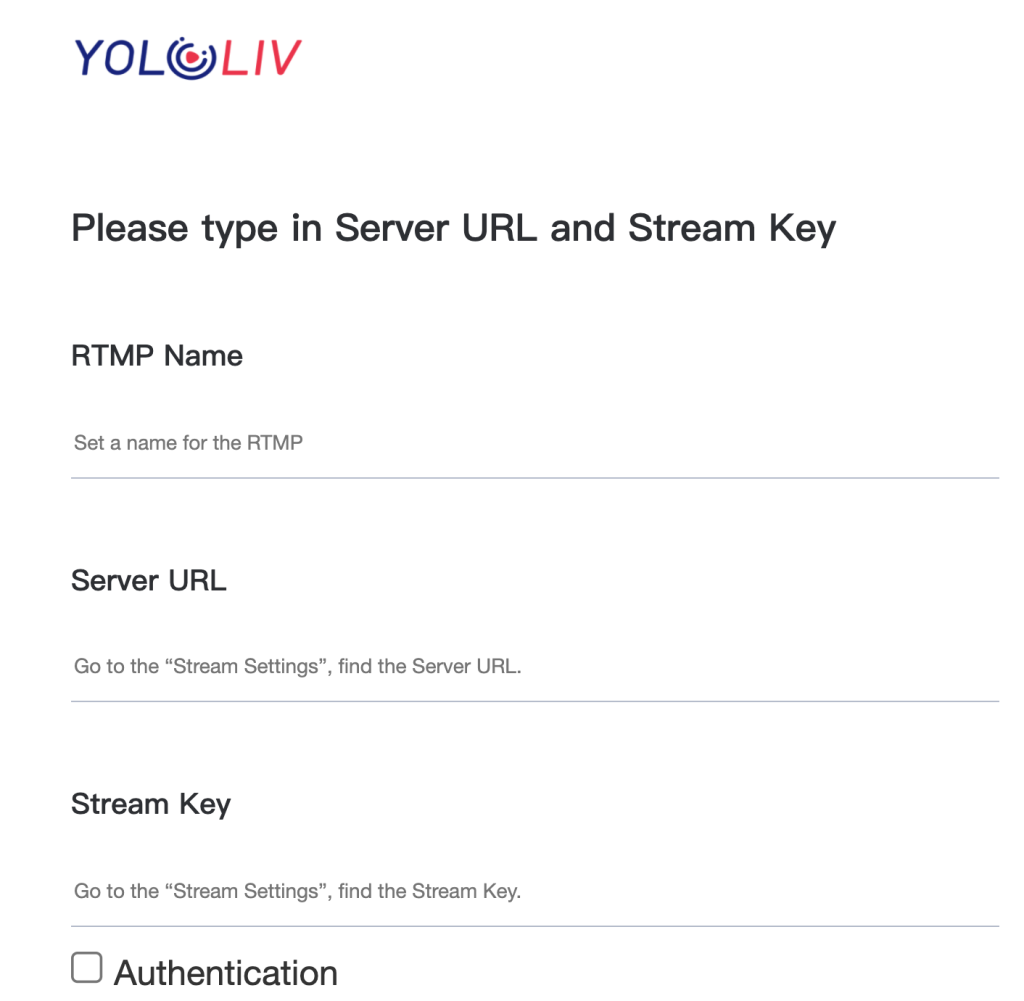
    You will be redirected to the following page and will be asked to fill in the Server URL and Stream Key information.

    Server URL and Stream Key info - Step 7 YoloLIV

    Now to get this information let’s go to your Dacast account.

    Step by Step within Dacast

    Log in to your Dacast account and go to the Live Streams section. Then create a new live stream or select an existing one. 

    In your live stream general tab, you will click on the “Encoder Setup” button as shown below:

    YoloLIV Step 8 - Live streams > encoder setup

    You should now see a window like the following one. 

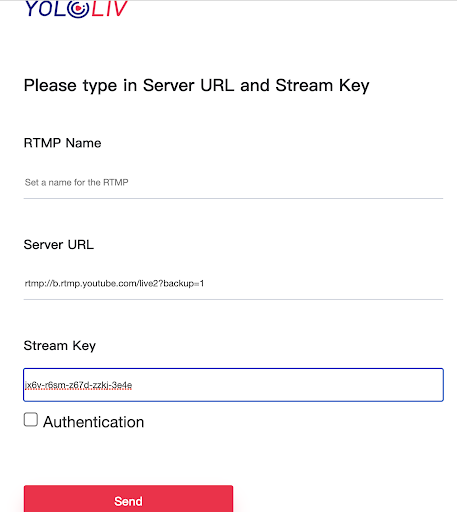
    Now copy the Backup URL and paste it into the Server URL field back into the YoloLIV page we opened earlier (from email). And repeat the operation by copying the Stream Name or Key and pasting it into the Stream Key field.

    Yololiv encoders info filling - Step 9 - Yololiv tuto

    Now, you should see this page – which means you are ready to live stream. 

    Yololiv_succsesful_window_-_step_10

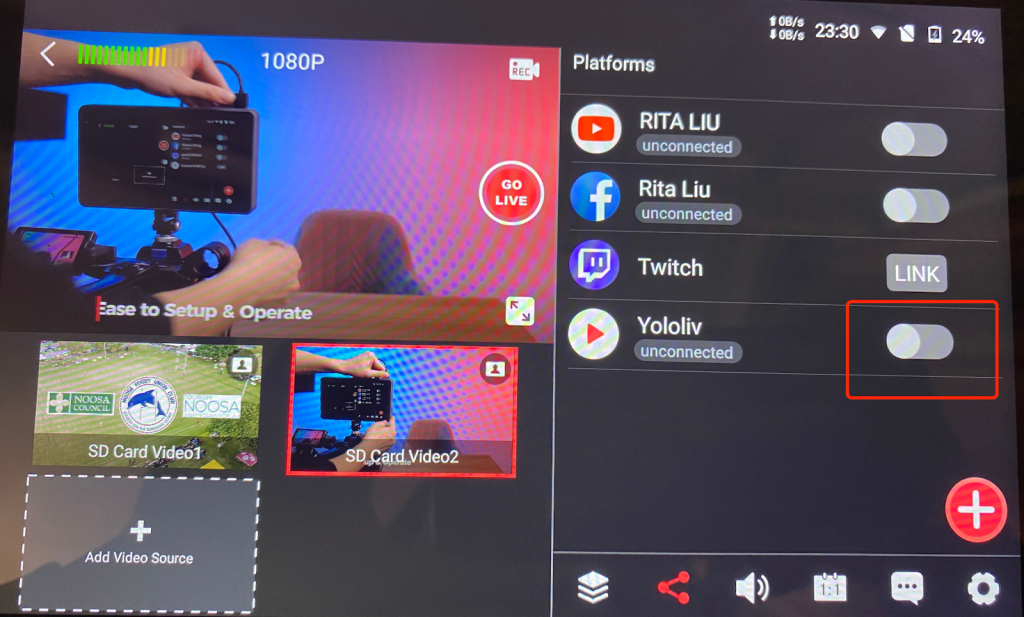
    Now let’s go back to your YoloBox/Pro. Create a live stream and set the Streaming mode in Multi-Streaming Service as shown below:

    YoloBox_-_multistream_option_-_Step_11_-_Yololiv_tuto

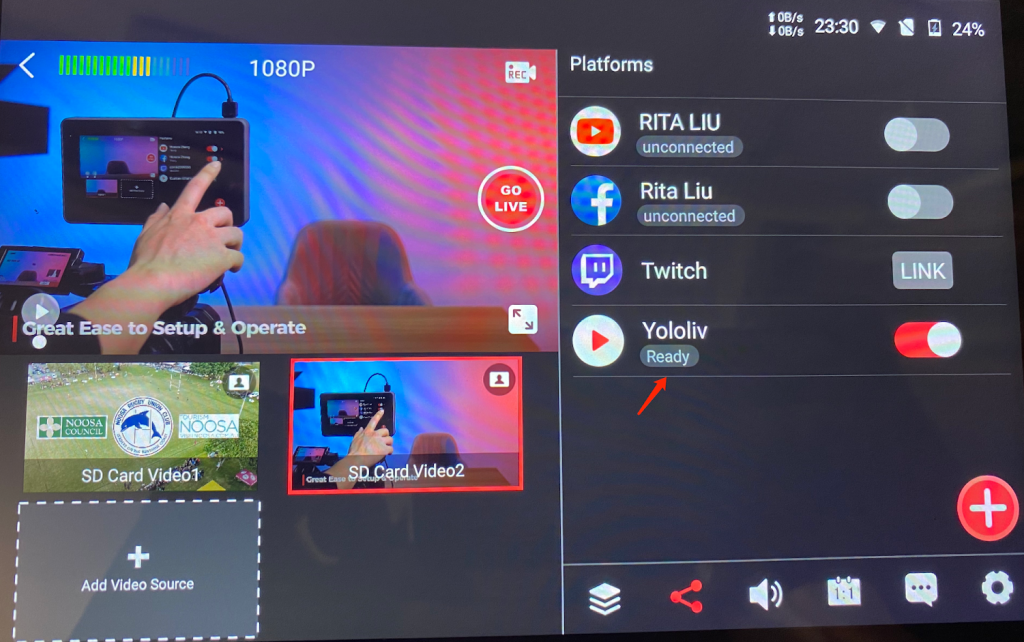
    The last step remaining is to turn on your Yololiv stream in your YoloBox and make sure it is also enabled in your Dacast account.

    Yololive_enable_-_last_step_12

    Now you are all set and ready to live stream with Dacast using your YoloBox!

    Yololiv_-_Step_13_last_-_Stream_enabled

    If you are still having issues, please contact our support team in chat or via email at support@dacast.com

    Not yet a Dacast user, and interested in trying Dacast risk-free for 14 days? Sign up today to get started.

    get started for free

    author avatar

    Harmonie Duhamel

    Harmonie is a Senior digital marketer with over 6 years in the Tech Industry. She has a strong marketing and sales background and loves to work in multilingual environments.

    Free 14-Day Trial

    • Start streaming immediately
    • No credit card required
    • 10 GB of bandwidth
    Read Next

    Read Next

    article featured

    How to use Dacast Signed Keys?

    author avatar

    Rizaldy Samonte

    1 Min Read

    article featured

    Simulcasting: How to Stream to Multiple Sites – Dacast, Facebook & More

    author avatar

    Jose Guevara

    3 Min Read

    article featured

    What Is The DVR Or Digital Video Recorder Feature In Dacast?

    author avatar

    Samantha Lo

    2 Min Read

    Subscribe Now

    Stay up-to-date with the latest features and product releases. Cool tips, expert advice and more.