


Guide to Dacast Live Transcoding Feature
Our Live Transcoding feature will take a single incoming stream and create multiple renditions. This will allow your viewers to choose the rendition that works best for them.
To set up a Live Transcoding channel you will need to follow these steps:
- Open the Live Streams tab then click on Create Live Stream.

2 . Then select how do you want to stream, and click “choose advanced options”.

3. You can enter some information about your new channel.

Stream slot type allows you to choose the type of stream you want to create depending on the quality of the source stream you will be sending.
Standard Passthrough – Ready-to-broadcast format channels where the source is responsible for the output quality by choosing resolution, framerate, bitrate, keyframe interval, and potentially other transcoding parameters based on the required encoder settings.
ABR 1080p – If your source stream is FHD quality, the viewers will receive several renditions, the highest will be FHD (1920x1080p)
ABR 720p – If your source stream is HD quality, the viewers will receive several renditions, the highest will be HD (1280×720p)
ABR 480p – If your source stream is SD quality, the viewers will receive several renditions, the highest will be SD (720×480p)
4. Source Region – This should be the region you are sending your stream from. Sending your stream to a different region can result in latency issues. Click on Create

You are all done!
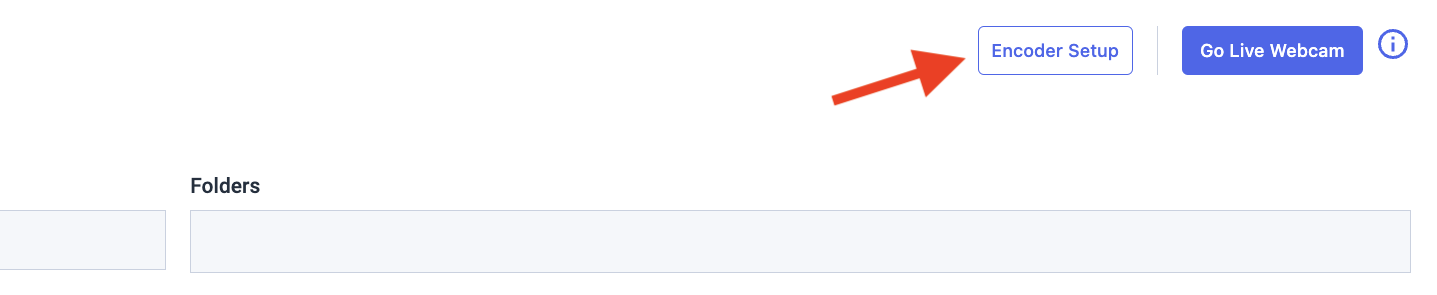
You can now open your Encoder Setup window and connect to the channel.
When configuring the encoder, all you need to do is enter the information provided from the Encoder Setup window.

Any questions about the Live Transcoding feature? Please contact our 24/7 chat support or send us an email, we are more than happy to assist you.
We also recommend taking advantage of Dacast’s 14-day free trial to try all of our amazing features.
When you’re ready, just click the button below to sign up and check it out.
Additional Resources
- Explore Dacast’s All-Device Video Player Broadcast Software
- How to Live Stream with OBS Studio [VIDEO GUIDE]
- Quick Guide to Live Streaming with OBS Studio
- How to Live Stream with OBS Studio on Mac
- Live Encoder Configuration: Required Settings on Dacast