


Quick Start with Live Streaming (OBS Studio)
In this OBS Tutorial for Dacast, we will discuss how to set up a live stream by connecting the Dacast streaming solution to OBS Studio, a free and open-source broadcasting software with integrated encoding capabilities. This guide is for the Windows version of the encoder.
Video tutorial available here.
Step 1: Add Details to Broadcast Setting
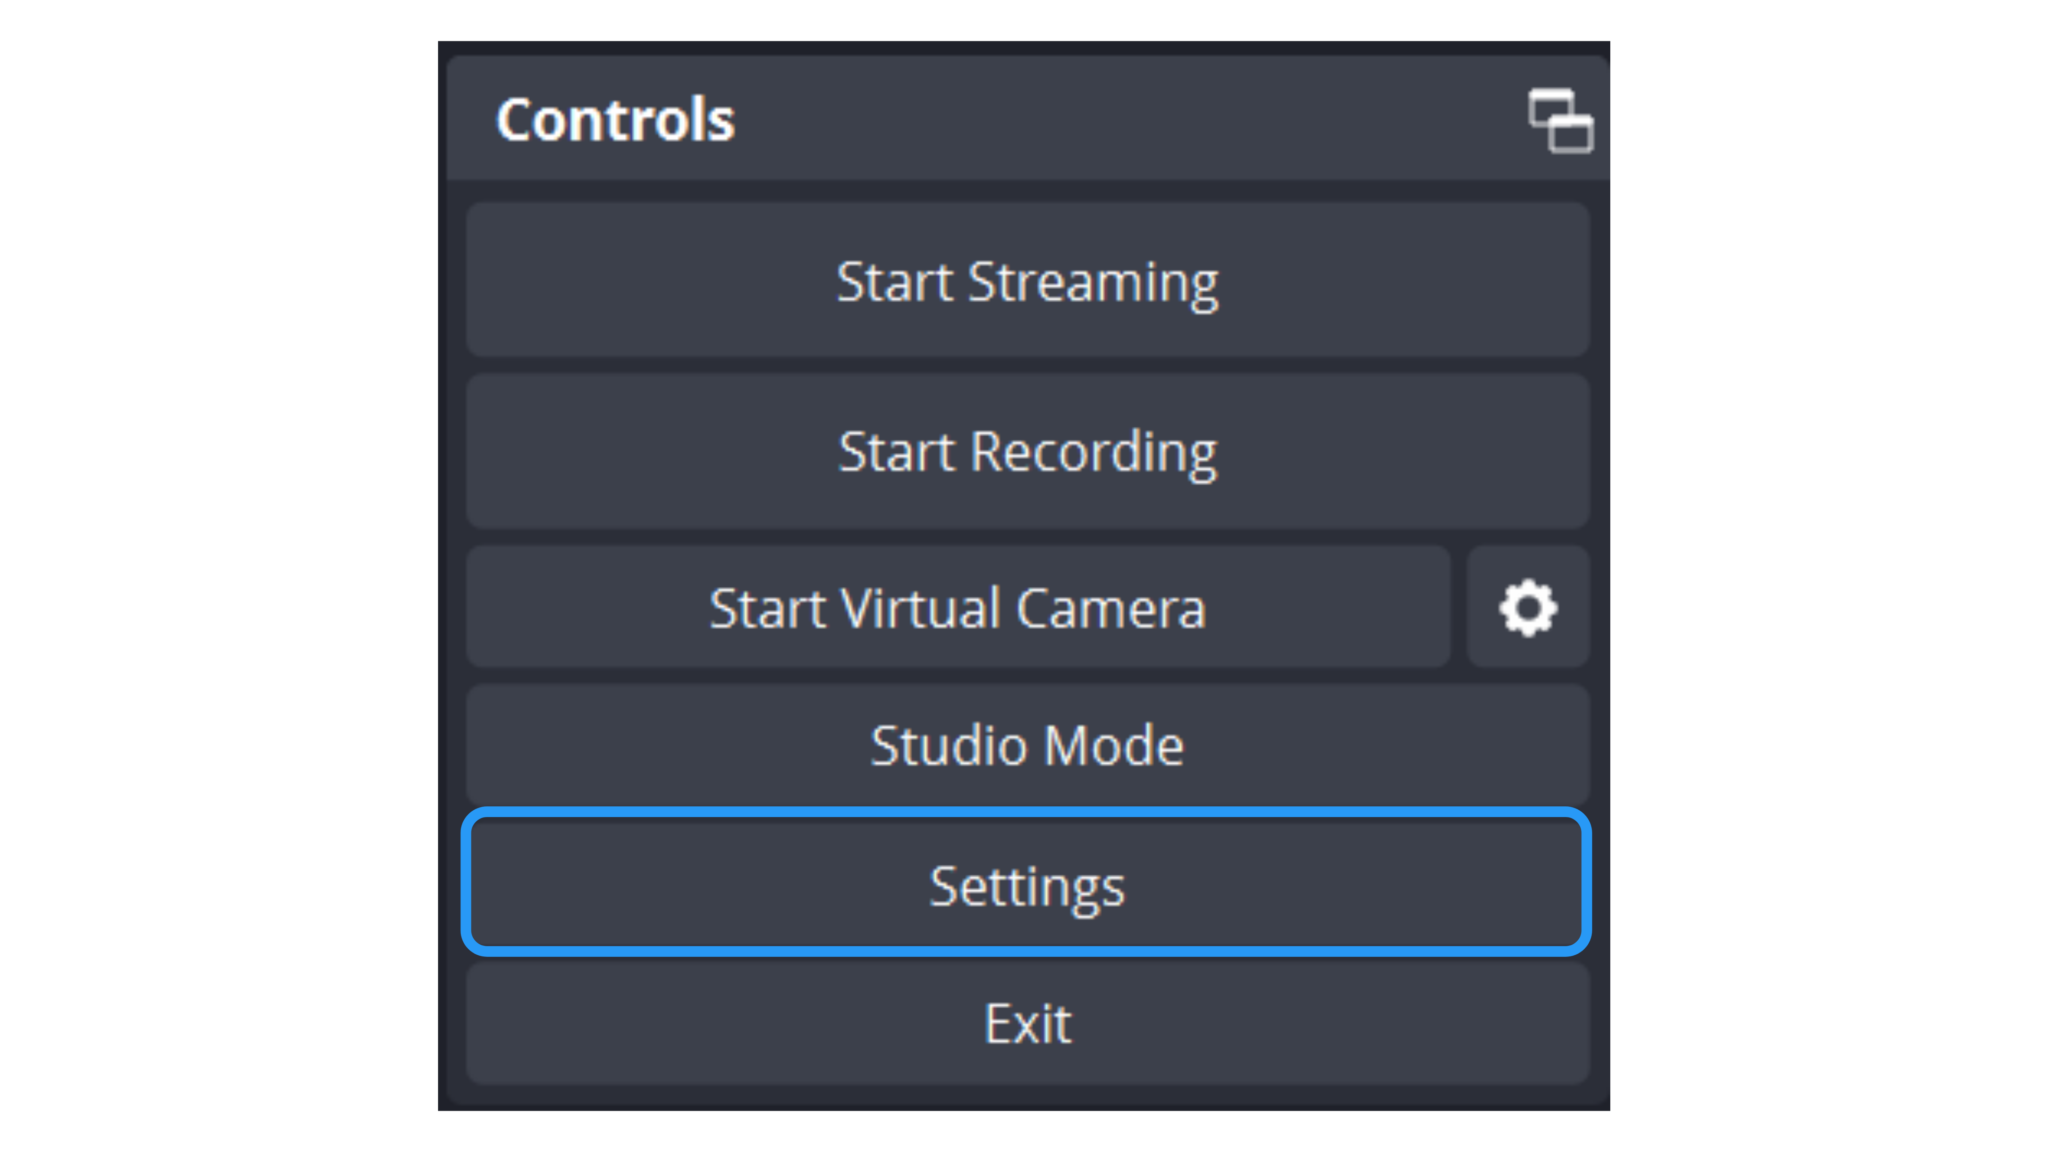
Open the settings of OBS Studio:
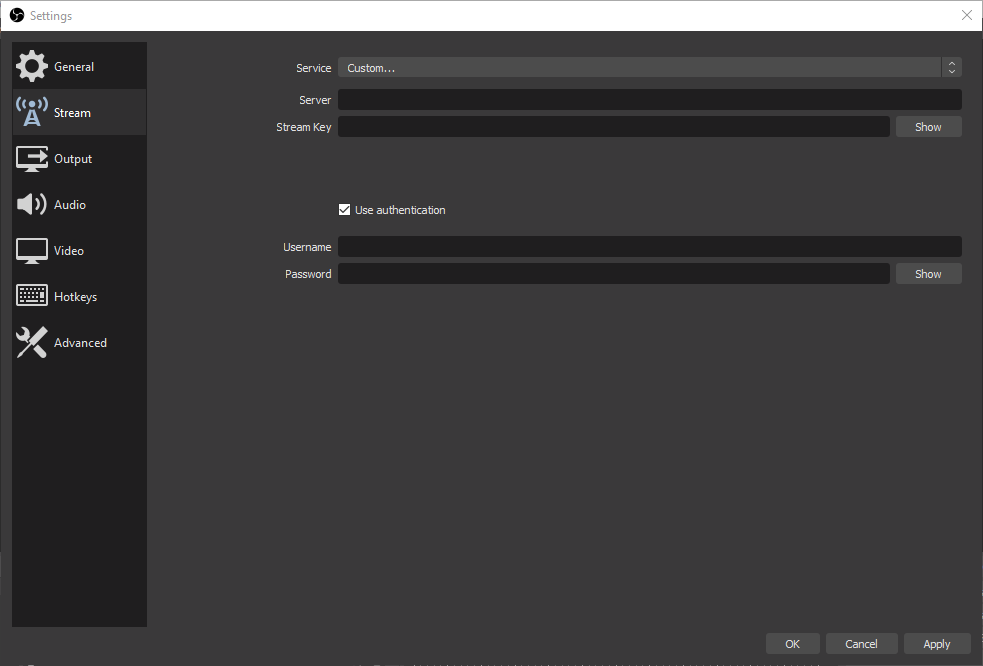
Go to the “Stream” tab. Select “Custom…” from the Service drop-down at the top.
You will see two fields: URL and Stream Key. This information is available in your Dacast account.
Go to your Dacast Live Channel, click the “Encoder Setup” button.
Copy and paste the Stream URL from your Dacast account in the “Server” field. Copy and paste the Stream Name in the“Stream Key” field.
Then, click on the box for “Use Authentication.” Fill in “Username” and “Password” using the Login and Password of the live channel.
Click the clipboard icon on the right side to copy and paste into the Username and Password fields, respectively, in OBS Studio:
Step 2: Add Audio and Video Sources
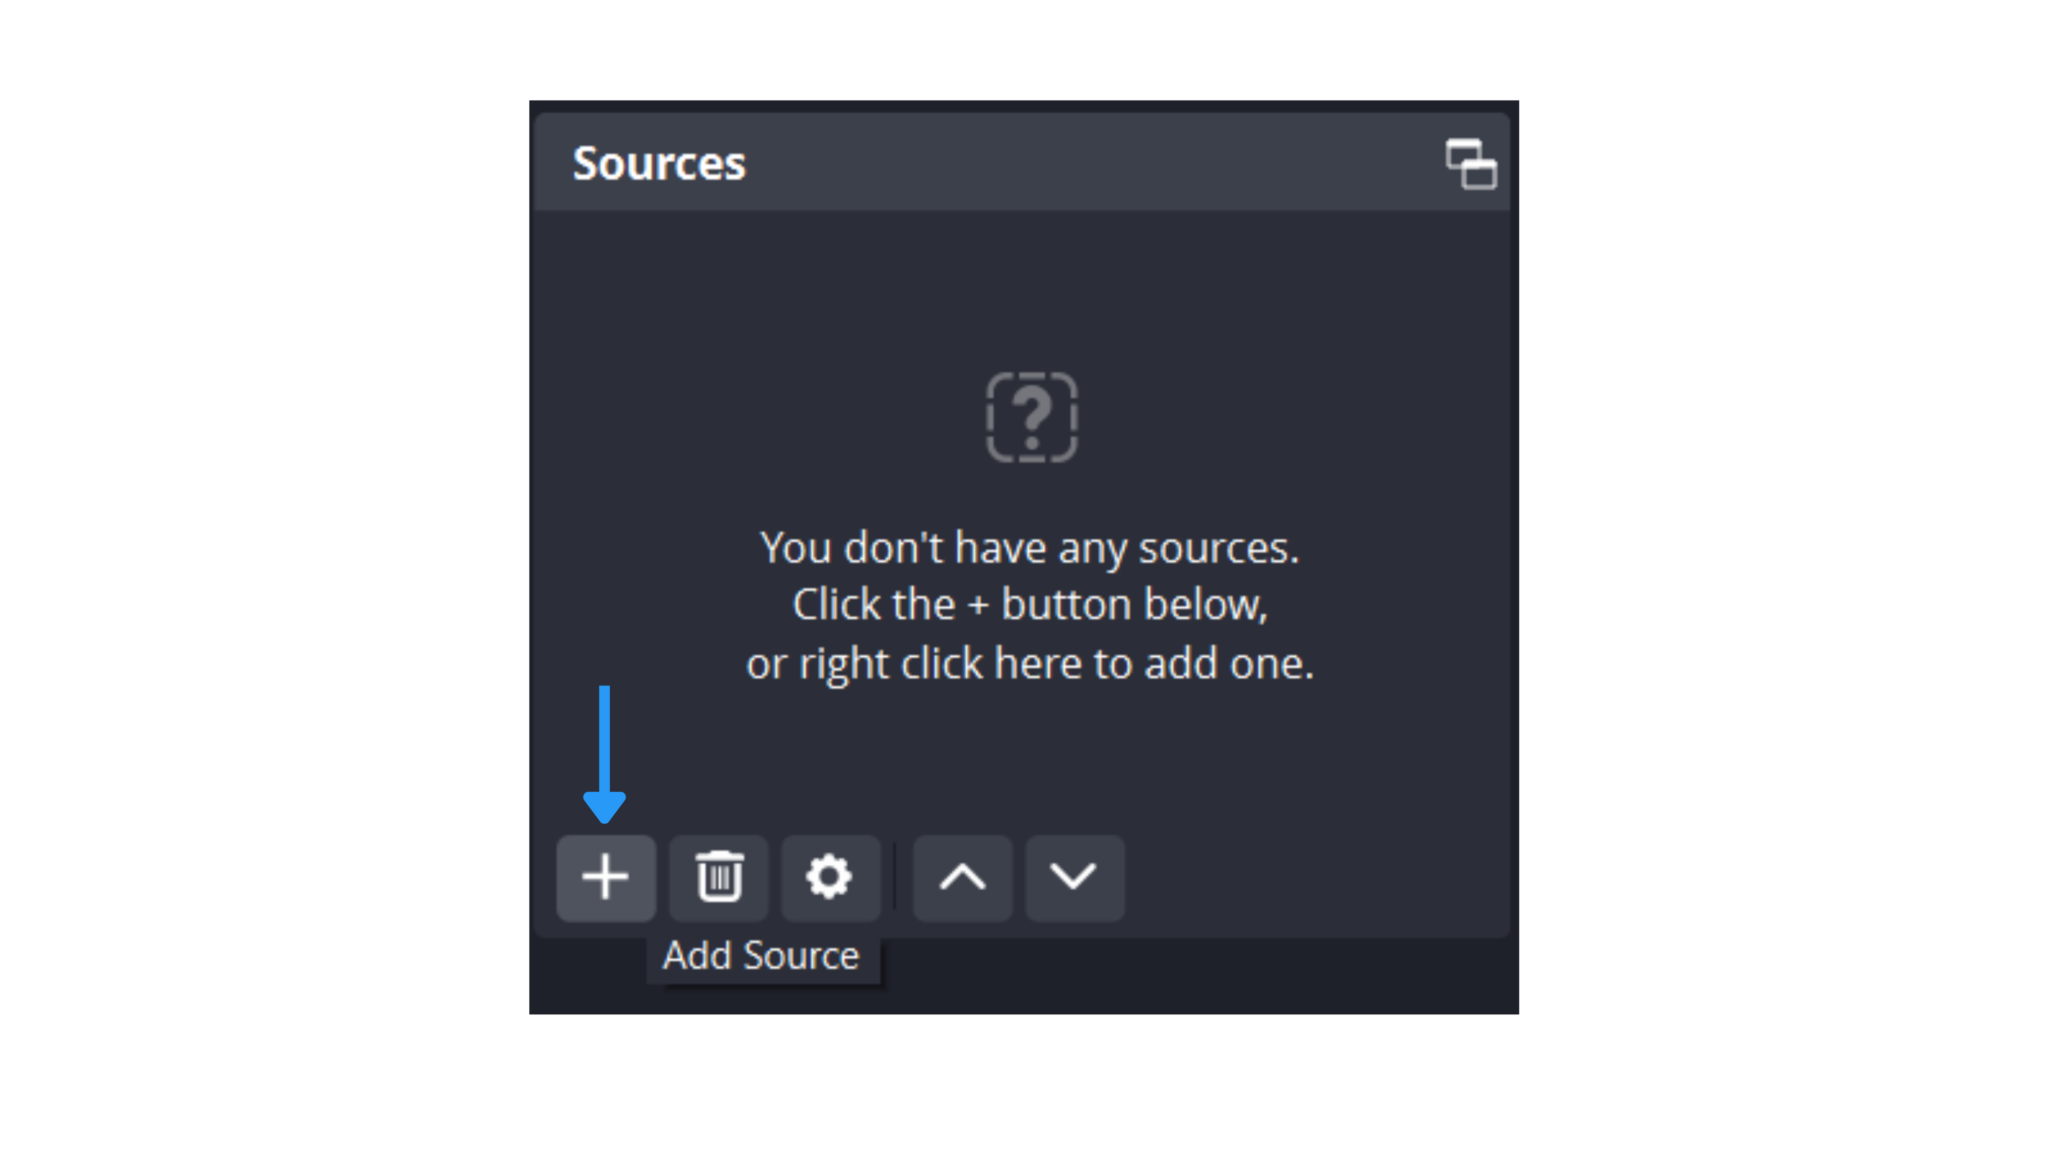
At this point, you are prepared to broadcast with OBS to Dacast, but you have the option to add additional sources (camera, audio, display capture, etc.). You can do this by clicking the “+” button in the “Source” window at the bottom of the screen and remove them by clicking the “-“:
You can also add (“+”) and remove (“-“) “Scenes.” Scenes are preset sources that you can mix together.
Switch between multiple Scenes you have created by assigning “Hotkeys.” Do this by going to the “Hotkeys” tag of OBS’s “Preferences.”
Before starting the stream, make sure all the following settings match the below:
- Keyframe interval = 3 seconds
- Rate control = CBR
- Profile = main
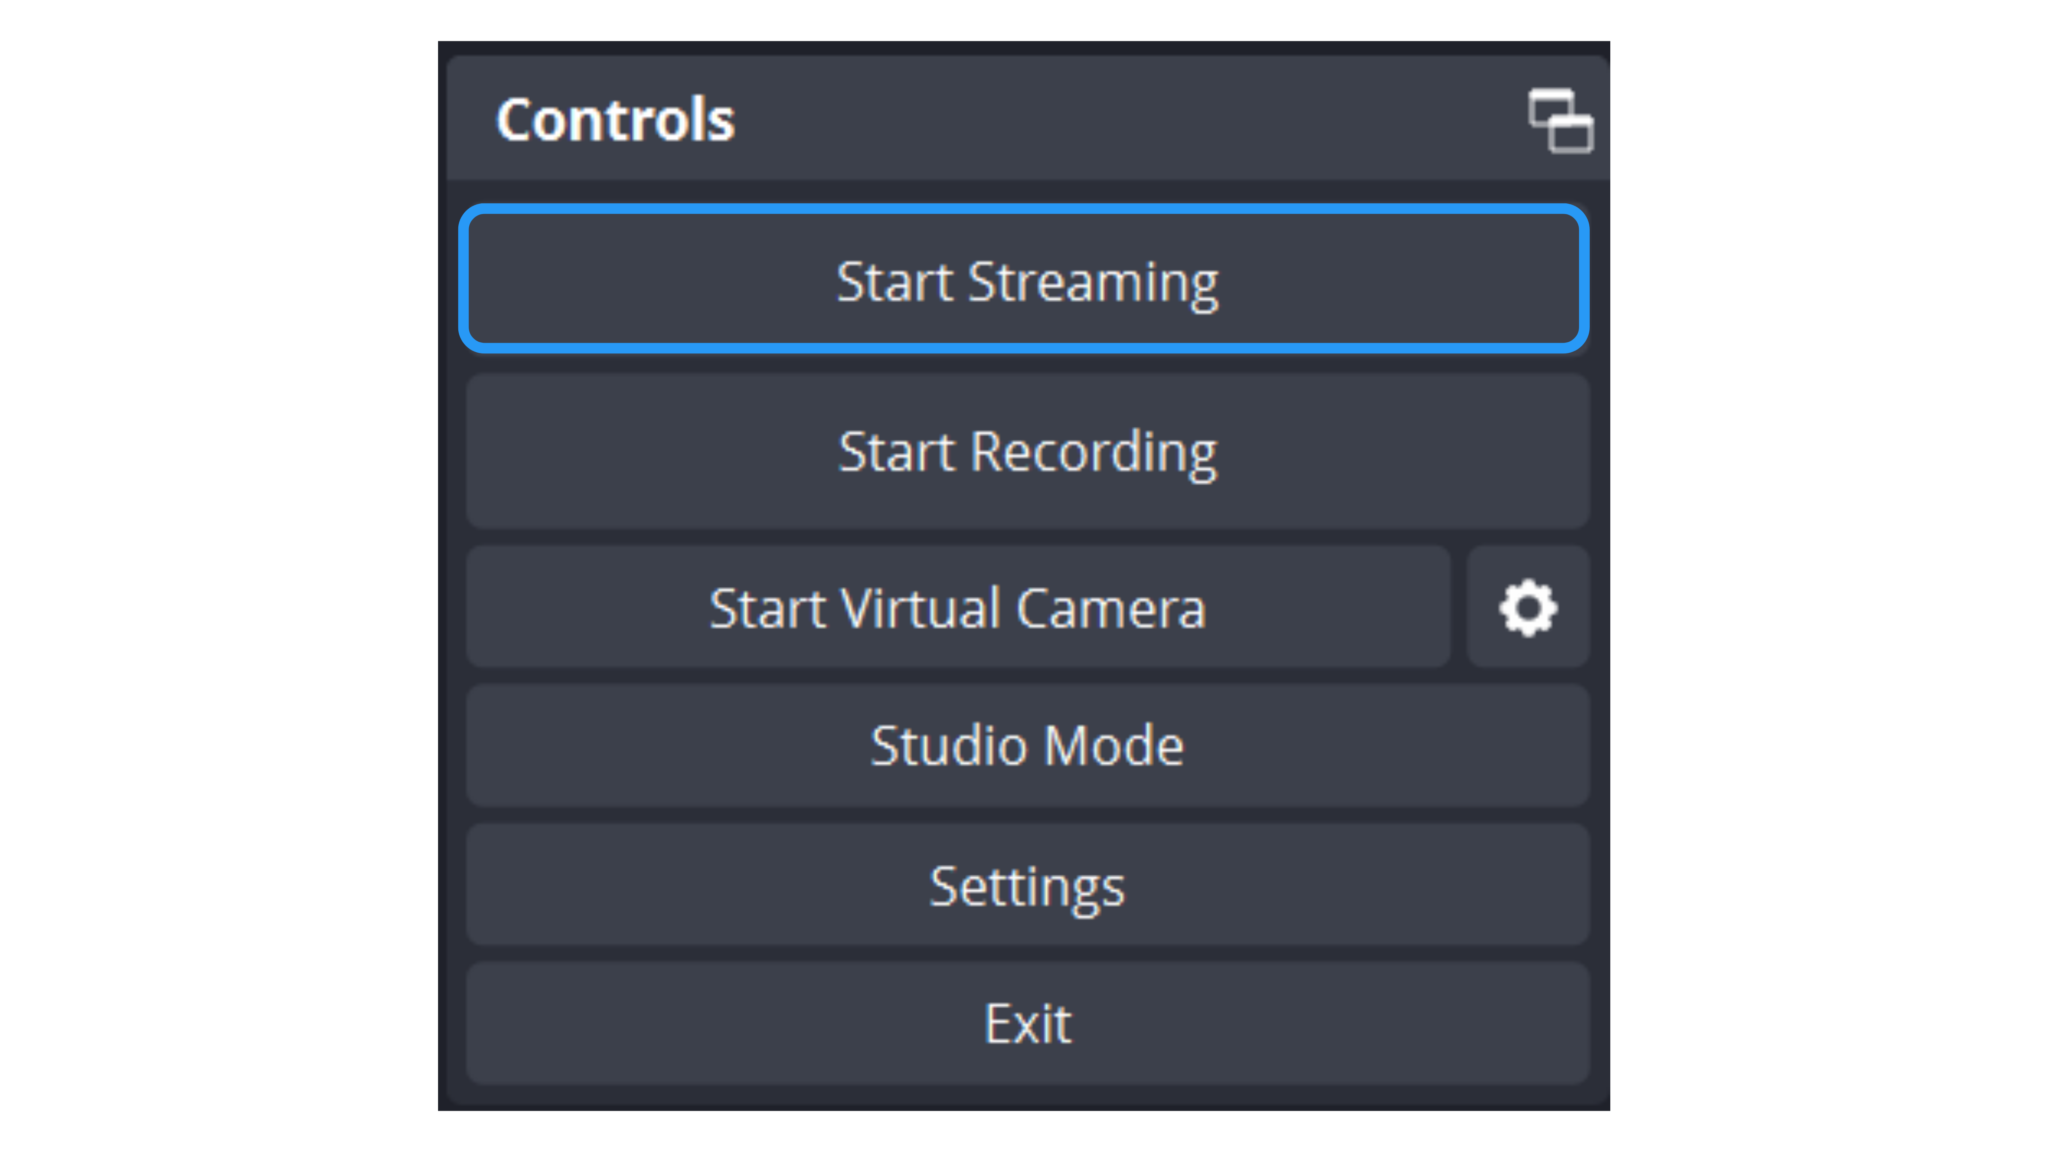
Once you are happy with your OBS Studio settings, click “Start Streaming” to begin your broadcast.
To preview your stream go back to your Dacast account, click on the html5 live channel you’ve created, and click on Preview. Note that it can take up to 50 seconds to come up online. For low latency streaming options, contact us.
What is an Encoder?
Encoding is a process used to convert the RAW video files captured by a camera into digital files suitable for live streaming over the internet. OBS Studio is an example of a software encoder that is used for live streaming. This means that the encoder feeds digital video files to the streaming platform in real-time.
Required Encoder Settings
The following encoder settings are required for live streaming with Dacast, regardless of your selected resolution and bitrate:
| VIDEO CODEC | H.264 (x264 may work) |
| FRAME RATE | 25 or 30 |
| KEYFRAME INTERVAL | 2 secs (or 2x frame rate) |
| SCANNING | Progressive |
| ENCODING BITRATE | Constant (CBR) |
| AUDIO CODEC | AAC |
| AUDIO BITRATE | 128 kbps |
| AUDIO CHANNELS | 2 (Stereo) |
| AUDIO SAMPLE RATE | 48 kHz (48,000 Hz) |
Not yet a Dacast user, and interested in trying Dacast risk-free for 14 days? Sign up today to get started.
Additional Resources